Despite spending years working in kitchens, I’ve never been much of a baker. Most of my time was spent juggling several pans on burners; a collection of steaks, burgers, chicken, and salmon on the grill; Reubens, grilled cheese sandwiches, and quesadillas on the flat top; and four baskets going at once in the deep fryer. I’ve been lucky to know numerous wonderful bakers who have provided me with baked goods throughout the years. My grandmother’s pies, my brother’s chocolate chip cookies, his fiancee’s scones, a coworker’s flourless chocolate cake, and my best friend’s wife who is a professional baker and made cupcakes for their wedding are all at the top of my favorites list. You might be able to tell that I have a bit of a sweet tooth.
 It just so happens that National Buttermilk Biscuit Day is on May 14th, and I love buttermilk biscuits. I figured that biscuits were as good of a place to start as any, and I could use a familiar tool to make them: the Clay Coyote Flameware Large Skillet.
While looking online for recipes, I was searching for simplicity. There are a lot of opinions out there about what techniques make good buttermilk biscuits. I read about folding the dough three times, folding it four times, cutting your butter into both thin slices and pea sized cubes, mixing in the butter with your hands, mixing it in with a rubber spatula, crowding the pan, not crowding the pan, and . . . I think you get the picture. There was one common thread in all the recipes – cold ingredients, especially the butter. This is the real key to fluffy biscuits. Eventually I discovered this recipe from Damn Delicious. It features simple ingredients, relatively few steps, and is meant to be done in a cast iron skillet. I had to improvise a bit during the process; I neglected to locate a box grater before starting. But overall I stayed true to the recipe, while using our flameware skillet instead of cast iron, and the biscuits turned out great.
Ingredients
- 4 c all-purpose flour
- 4 tsp baking powder
- 1¼ tsp kosher salt
- 1 tsp baking soda
- ¾ c unsalted butter, frozen
- ¼ c unsalted butter, melted
- 1¾ c buttermilk (I needed more than this, I would recommend having at least another ¼ c ready)
Directions
 Preheat oven to 450 degrees F, place skillet in the oven while it preheats.
- Combine flour, baking powder, salt, and baking soda in a large bowl
- Grate the butter into the flour mixture using the large holes of a box grater (Since I did not have a box grater on hand, I cut up the frozen butter with a knife. You want roughly pea size pieces.)
- Add buttermilk and stir using a rubber spatula until a dough starts to form
- Lightly flour a surface, turn out the dough, and knead a few times until it comes together. Be careful not to overwork the dough.
- Using a rolling pin, roll the dough into a 9 inch square and then trim the edges to create an 8 inch square.
- Remove skillet from the oven and lightly oil.
- Cut the dough into 9 to 12 biscuits. This can be done with a biscuit cutter or a knife. Place prepared biscuits into the skillet.
- Brush melted butter onto the top of the biscuits.
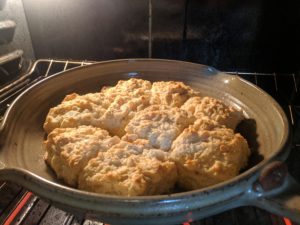
- Put the skillet back in the oven and bake for 16 – 19 minutes, or until golden brown.
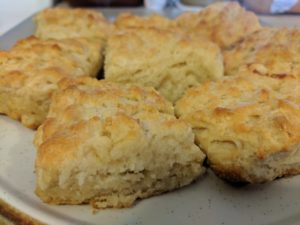
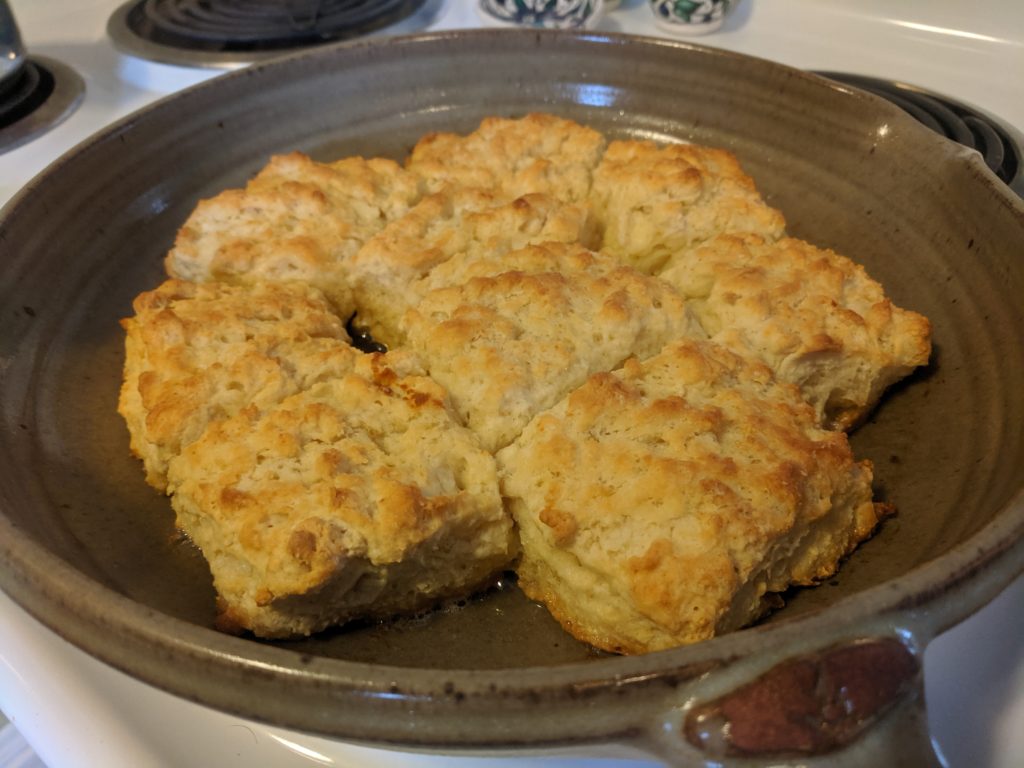
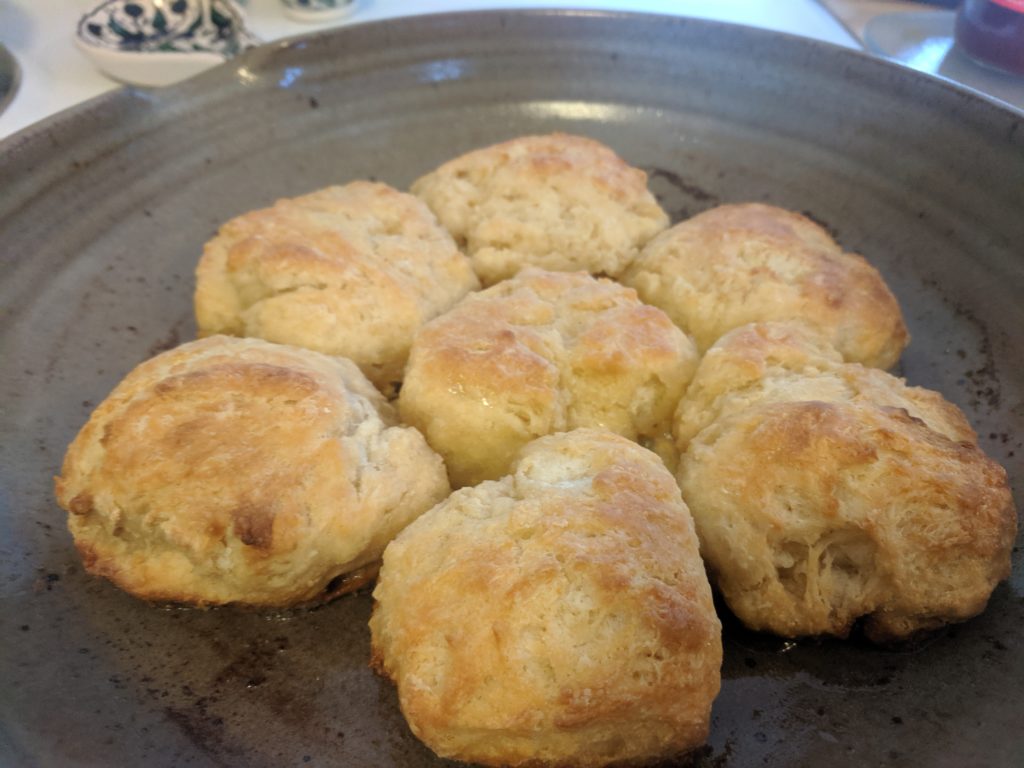
This recipe made a lot of biscuits. I ended up getting around fifteen out of it, and had to bake them in two batches. I pulled the first batch, ate one, and plated and covered the rest in foil. I felt good about the results after eating that first biscuit. It was fluffy, buttery, and had a crisp top and bottom. The rest of the biscuits I delivered to the Clay Coyote, where I knew there would be some ready and willing taste testers. After everybody went back for a second biscuit, I was feeling really happy with myself.
Any biscuits that did not fit in the pan, I placed on a plate in the fridge. I had also combined the dough trimmings to make an extra biscuit or two. As an experiment, I let those sit for a few hours before firing up the oven and baking them. The second batch also turned out great, so don’t be afraid of preparing the biscuits ahead of time and baking them when you’re ready. I would guess they would hold up overnight, cold ingredients are important after all, so you could have fresh biscuits in the morning in just about twenty minutes.
Give this recipe a try yourself, and let us know how they turned out. If you need a skillet, we have them in stock and I bet our flameware cazuela would also be great for this recipe. If you stop in to pick up a skillet, grab some of the new jams and fruit spreads we have from Tait Farm Foods to pair with the biscuits as well. Happy National Buttermilk Biscuit Day!


